We get this nice photo but it seems a little fuzzy or there is a haze like glare in the entire photo.
In many cases this is a result of the blacks in the photo isn't really black (more grayish) and the whites are not really white (more grayish) and sometimes the gray isn't really gray at all.
Take this photo as an example

As you can see it seems a little fuzzy or there is a light haze covering the photo.
By inspecting the histogram you can see that the photo has data spiking in the center of the histogram with little to no data in the pure black and pure white regions.
On most cameras you can see the histogram on the display. If not don't worry we will get back to that in a second.
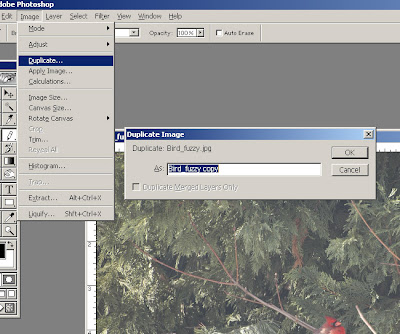
First start by opening the photo in photoshop and for the just in case scenario where we might end up wanting to undo changes create a copy to work on by selecting duplicate from the image menu.
Now for the major step in fixing the photo add a levels adjustment layer. This can be done from the layer menu by selecting levels in the Add adjustment layer menu or by selecting levels from the add adjustment layer list in the layers palette.
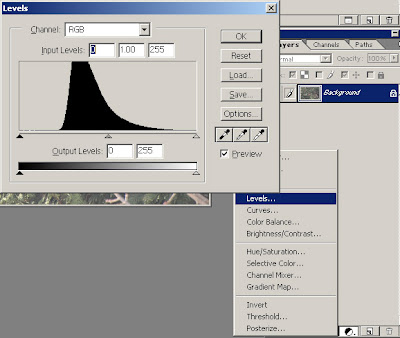
As can be seen in the histogram all data is centered and there is no data at the far left or far right side.
Using the triangles under the histogram you can now change the interpretation of pure black and pure white (and gray).
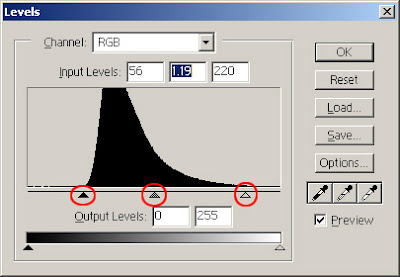
Move the black triangle towards the center until it "hits" the start of data. This will make the black colors black.
Move the white triangle towards the center. Again until it "hits" the start of data. This will make the white colors white.
The gray can be a little more tricky and unless your screen is properly adjusted this is where things can go wrong and end up looking differently than you intended.
Anyway adjust the gray slider until the mid tones (gray) looks "right".
If you have parts of your image being pure black, pure white and/or neutral gray you can also use the color pickers to the right of the histogram (under the options button) and use the correct color picker on the corresponding section of the photo.
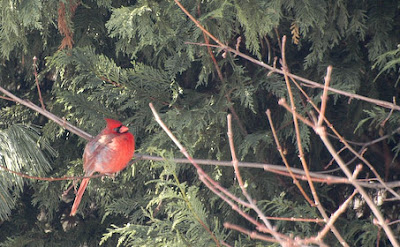
As you can see this has introduced a major difference and removed a lot of the "haze".
To adjust any remaining brightness and contrast there may be you can now add a brightness/contrast layer. This is done from the layers menu as previously or from the layers palette.
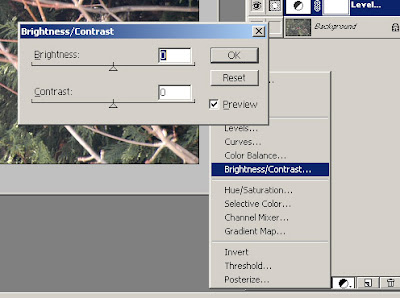
When adjusting brightness and contrast keep an eye on hot spots to avoid these to burn out completely and in shadow regions to avoid causing black with no detail in it.
The final result after a quick touch up

2 comments:
Excellent. I can't wait to try it.
Nice..! and thanks
Post a Comment