Sooo here goes.
Starting with this image of a flower

First step before adding some color is to add a touch of texture to the photo to make it a little "artistic" and add to mood. Some photos this works great for and others it doesn't so this step is something that can be experiment with or left out.
Add a pattern adjustment layer from the add adjustment layer from the layers palette
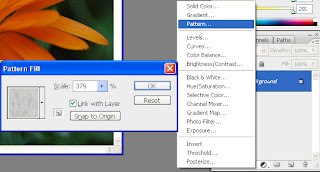
To make the pattern a "low" impact and subtle select a fairly light pattern and increase the scale so it fit's the photo in a way where it doesn't impact too much.
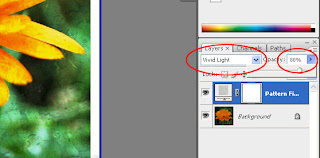
To merge the pattern with the photo set the blending mode to "vivid light" and adjust the opacity to the level where the pattern doesn't stand out too much.
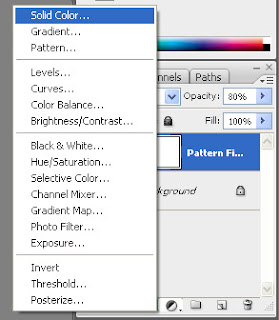
Now to add the color to the photo select "solid color" from the add adjustment layer from the layers palette.
Pick a color in the dialog (blue in this case).
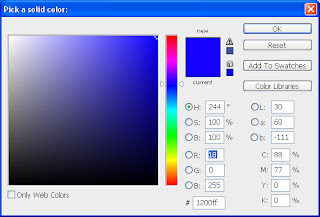
Of course this make the entire photo the color you selected... but not to worry ;-)
Change the blending mode of the color layer to "Hue" and adjust the opacity to a level where the colors are well balanced.
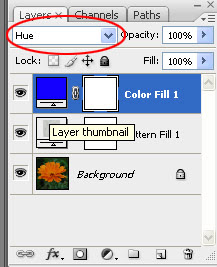
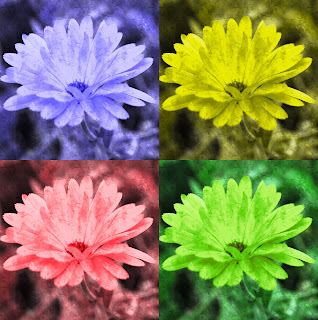
and tada here is your blue flower
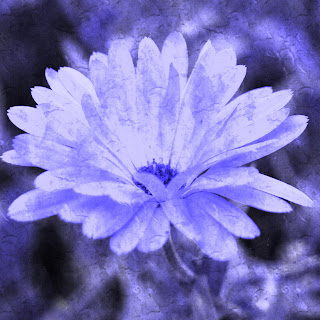
Now go forth and add as many color layers as you wish to created different versions of the photo.
One thing to remember is to hide the non active color layers to avoid the colors getting mixed.
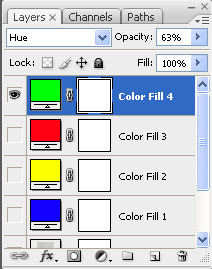
and with the above example we now have a green flower
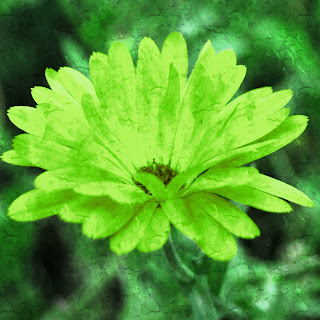
Making different versions with different colors you can now quickly go from this

To this

or maybe this
No comments:
Post a Comment