Using a template or well template like photoshop in yep you guessed it photoshop isn't that difficult. Getting the "right" template can be difficult at times since it can be a big file or one that's hard to modify.
Anyway I hope you find this one easy.
Here is a template for you to download and then I will show how to use it.

Start out by opening the template and you background image in photoshop. Select the template window and the background image layer in the layers palette.
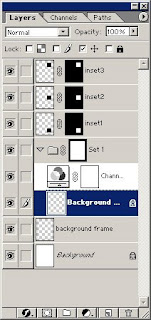
Select everything in your background image CTRL+A and use the arrow pointer (shortcut v) to move the image to the template.
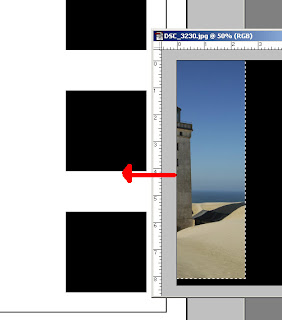 Once the background image has been moved to the template you can adjust the position of the background image by moving it or adjust the size of it with free-transform (shortcut CTRL+T). If you are changing the size of the image it's usually a good idea to hold the shift key while dragging the corner. This will ensure the image keeps the same aspect ratio and the image doesn't come out as distorted.
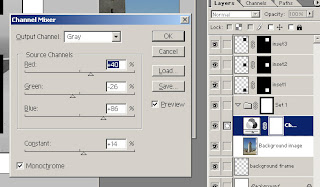
If you don't want the background image to be black and white simply hide that layer by clicking the eye next to it. Otherwise double click the three bubble icon on the black and white layer to adjust the channels to what gives you the best black and white. Everything is shown real time so don't be afraid to experiment :-)
 Now for the insets along the side. Select the inset layer in the template, open the photo you want to insert and either do a selection of part of it or just select all. Use the arrow point to once again drag the photo to the template and you will have it (sort of) inserted in the template.
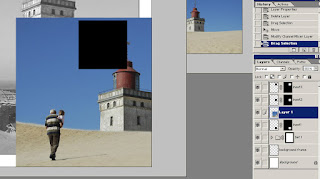 First apply the mask to the photo layer that was just created. This you can do by holding down the CTRL key while clicking the mask on the inset layer. Doing this will give you a selection (marching ants) . Select the photo inset layer (the one we just dragged in) and click the mask icon in the layers palette (the gray one with a white circle in the middle).
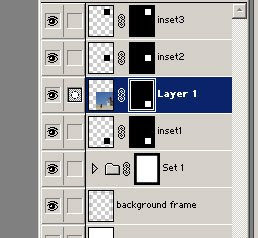 Now before starting to move or resize the inset photo be sure to first select the layer you wish to work with and disable the link between the photo and the mask. If the link is enabled while resizing the photo the mask will change the same way and that's not really what we want in this case.
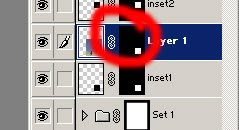 Now that the link is disabled select the photo icon (not the mask) from the inset layer and choose free transform from the layers menu (or shortcut CTRL + T). Hold down shift and drag a corner to get the fit you like the best. Note that you may have to let go of the mouse button and shift to move the photo while doing the resize.
Once you are done moving and resizing your photo inset select the inset area by holding down CTRL and click the mask then invert the selection by choosing invert from the selection menu (or shortcut CTRL + SHIFT + I). Delete/clear all non visible photo using the delete key (not backspace).
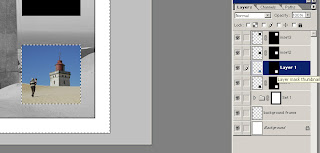 Now add a stroke (no it's really not a bad thing) by double clicking an empty area next to the layer text or selecting stroke... from the layer style menu in the layers palette (click the black round button with a white f). Depending on the size of the photo and resolution you may need a different size but try starting with a size of 2px, position: inside and black for color.
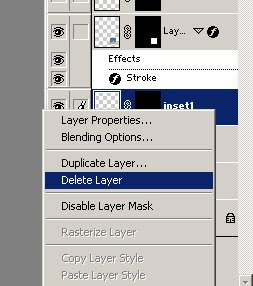
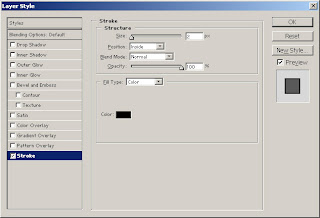 Now your first inset is done and you can delete the "old" inset1 layer which isn't going to be used. Also if you are going to come back to move the insets around or resize them it's a great idea to remember to re-enable the link between the photo and the mask.
 Now you can go ahead and insert photos in the rest of the insets. Once done and having remembered to enable the link between the photo and the mask you can also move the insets around to a position that may look better than what I came up with. Anyway I ended up getting this:
No comments:
Post a Comment