- Photos of smoke studio setup and lighting
- Photos of smoke photo exhibit
Soo now you got a ton of smoke photos and they are all black and color less.
Here is the post processing step following the light setup and capture of the photos and this is where we do some modifications to the photos and make them stand out.
It hopefully is pretty easy to follow but otherwise just let me know and please ask if you got questions. I will make sure to get everything answered :-)
Here is a photo I will be using for the creation of a smoke photo or art smoke if you will :-)
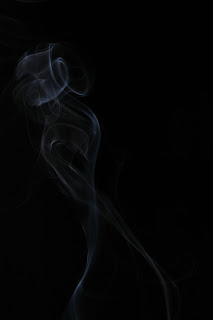
The foundation
The first important thing to make sure of is that the background is black. Not just as in a pretty dark background but technically black with the RGB values 0, 0, 0.
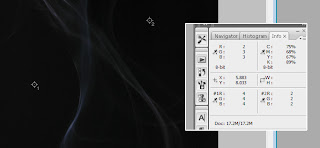
To do this we need some reference points in the photo and those can be set using the color sampler (or just use the eye dropper and ctrl click instead of clicking).
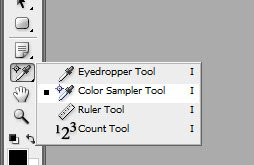
In the toolbar locate the color sampler. It may be hidden but will be shown if you right click on the eye dropper.
Click on a couple of what should be black areas in the photo and notice how you now have the values for those points in info panel in the upper right hand corner. As I suspected there is a little hint (very little) as the RGB values are not 0,0,0 for the points I selected.
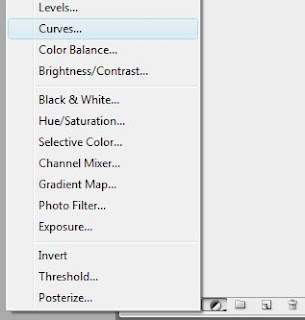
To adjust the tones in the photo add a curves adjustment layer either using the layers menu or click the half white, half black circle in the layers palette.
In the curves dialog click the lower left point and either use the arrow keys to tap the point right or use the mouse to drag it towards the right. It may be a little tricky but the goal here is to have the color sample values in the info panel go to the desired values of 0,0,0. Once completed you can brighten the smoke a little bit by selecting the point in the upper right hand corner and move it towards the left (using arrow keys or the mouse).
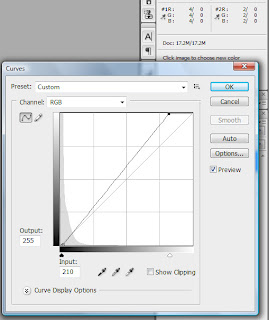
Now the photo should have the background black and the smoke standing out in white/gray tones.
Some smoke art photos don't have a black background but is presented as colorful waves on white. First step is to turn the background white which is easily done by inverting the photo. To do this and maintain flexibility add a invert adjustment layer from the layers menu or using the add adjustment layer button in the layers palette.
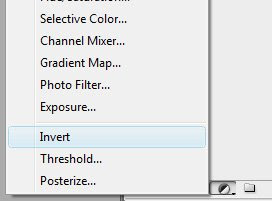
This will instantly turn the background white and the smoke comes out as dark on white instead of light on black. At this point you may want to make the smoke stand out a bit more by increasing the contrast. You can do this by moving the white point in the existing curves layer.
Double click on the curve icon in the layers palette and in the curves dialog box drag the white point (upper right hand corner or where ever you left it) more towards the left. This will increase the contrast and make the smoke stand out.
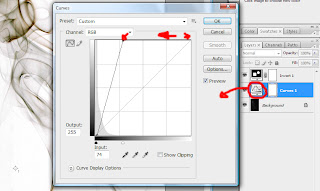
Now for a really neat trick and the reason why we are using adjustment layers instead of altering the photo.
Click the eye (effectively hiding the layer) next to the invert layer. Now you have white smoke on a black background. Clicking again will show the invert layer and you have black smoke on a white background. This is great to determine what looks best for your particular design.
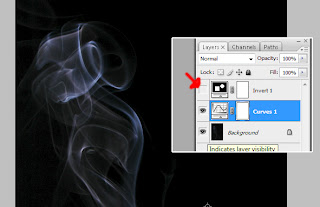
Another factor when making smoke art is that smoke rises so most of your photos will reflect that fact. However sometimes wonderful things happen when you turn things sideways or even upside down. All of this can easily be done using the rotate canvas functions in the image menu.
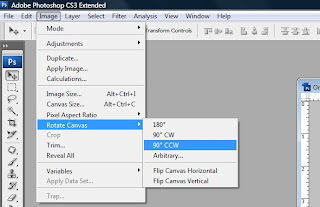
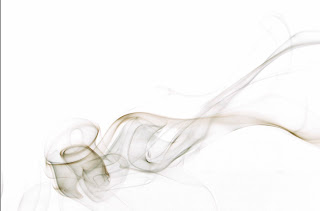
For this one I decided to turn it side ways and well hmm that's an artistic decision soo... deal with it ;-)
Adding colors
Colors can be added to the smoke in different ways and no one way is the right or wrong way so try a couple of different ways and see what works best for you and your photos.
First up adding colors using a hue/saturation adjustment layer.
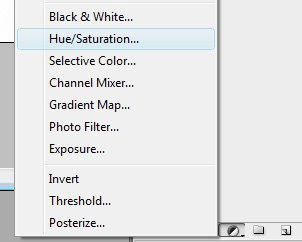
Add the adjustment layer by selecting it from the add adjustment layer menu in the layers palette.
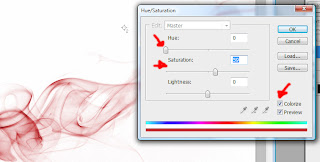
First set a check mark in the colorize check box which tells photoshop that we want to add colors to the photo. Now you can easily adjust the color of the smoke and the intensity of the color by moving the handles in the dialog.
The really really neat thing is that since we made sure the background was technically black this isn't affected at all by the application of color :-)
Another option for adding color to the smoke is using a gradient map adjustment layer. Like the hue/saturation add the layer by selecting gradient map from the add adjustment layer menu in the layers palette.
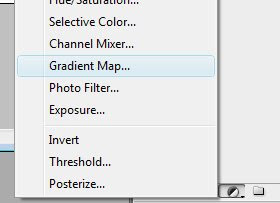
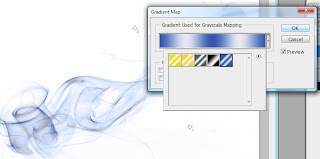
Here you can select a gradient map that will fit your smoke photo even though selecting one of them can be a little tricky :-(
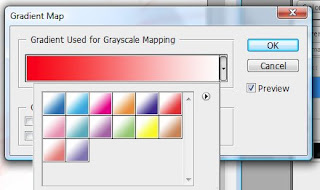
Depending on what you have loaded in the gradient map dialog you may see different gradient maps. To load a different set of gradient maps click the little arrow in the white round thingi ma bop in the dialogs upper right hand corner and select a different collection from the menu (at the bottom section).
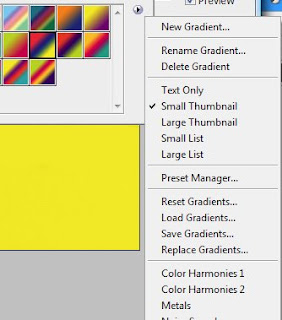
Now selecting a gradient map will affect everything in the photo and can make it a bit weird. I know you can modify and even create your own gradient map but let's just keep it simple :-)
Click ok in the gradient map dialog to close it and change the gradient maps layer blend mode to color.
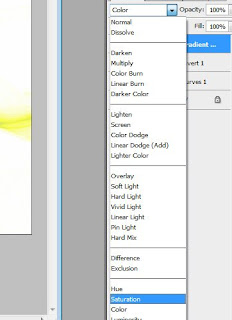
Now double click the half white, half black circle in the gradient map layer to reopen the dialog.
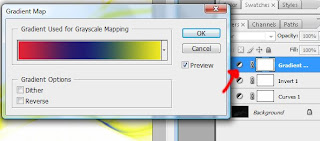
Once back in the gradient map dialog you can preview the map as you are selecting it.
A third way of coloring the smoke is to well just color it :-) I know I know...
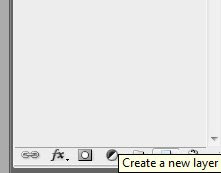
Start by adding a empty layer to the layer stack clicking the new layer button in the layers palette.
Before doing anything else. Select the new layer and change the blend mode to color.
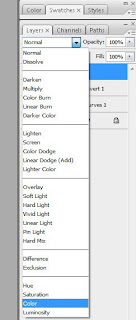
Select a soft brush (one of the fuzzy ones in the brush tip selector found in the top toolbar).
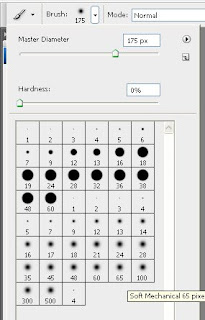
Pick a color and (after ensuring the new layer is the active in the layers palette) start painting on top of your smoke. Once again since the blend mode is set to color the white background isn't affected by the color.
For this one I selected a purple brush to color the edges and a blue for the rest.
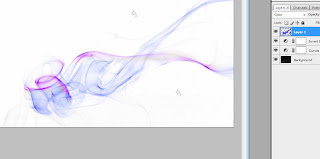
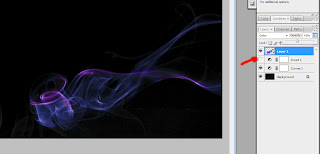
Look what happens when I disable the invert adjustment layer (hide the layer by clicking the eye). On this one my coloring came out a bit too strong but I selected the coloring layer and lowered the opacity to 65% which lessened the effect.
More in this series:
- Photos of smoke studio setup and lighting
- Photos of smoke photo exhibit
1 comment:
thanks for the post...
check out our page
Post a Comment