You can download the template here(right click and use save as).
Start out by choosing your photo, I will go with this one:
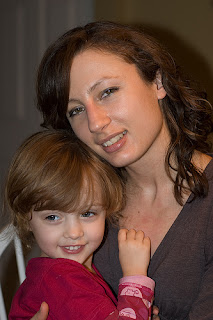
Now open the template and your photo in photoshop side by side.
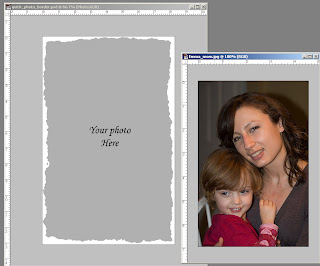
Insert your photo in the template by selecting the "your photo" layer in the template. Select everything in your photo and drag it to the template.
To select everything in your photo click the header of it and use 'ctrl'+'a' keys or the marque from the toolbox and drag a box around the entire photo.
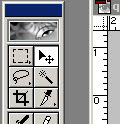
To move your photo to the template be sure to select the pointer tool from the toolbox (or use shortcut key 'v'). Grab your photo and drag it to the template.
When starting to drag the photo it will look like it's "disappearing" from your photo but don't worry about that. Once the move is complete your photo will remain untouched.

After moving your photo to the template you will have something like this:
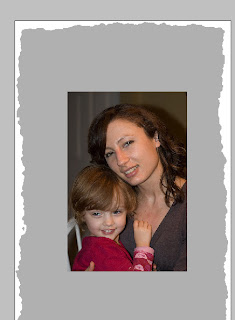
As you can see the template and the photo isn't the same size... but not to worry. A quick adjustment of the photo size will do the trick.
Using "Free transform" either from the edit menu or by shortcut keys 'ctrl'+'t'. Resize your image by holding down shift (ensures ratio stays the same) and drag the corner(s) so the photo fits. Finish the resizing by using the "checkmark" in the menu bar or using shortcut key
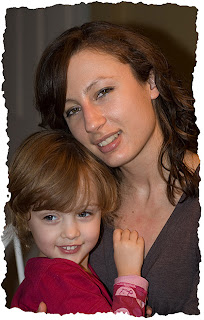
That's it... :-)
However for some photos a white border isn't good or you may want to blur it a bit.
To change the color of the border, select the border layer in the layers palette and make sure the canvas area is selected (the white box) not the mask layer.
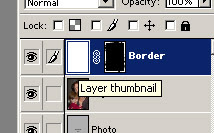
Select the color you want to use in the tool box and use the paint bucket to fill the layer with your selected color or use shortcut key 'ctrl'+'backspace' to fill the layer with the foreground color.
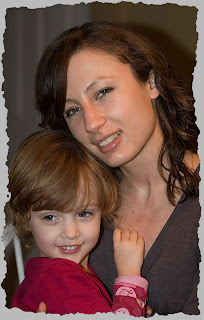
To make the border a little fuzzy/blurry select the mask for the border layer.
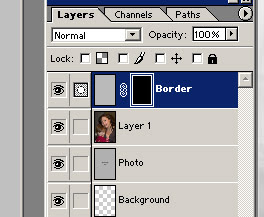
Using the Gaussian blur.. from the filter->blur menu adjust the radius to a value where you think the border looks like you want it.
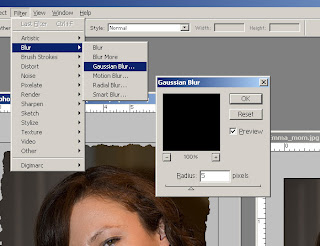
and that's it.... here is the result:
Original | New |
 |  |
No comments:
Post a Comment