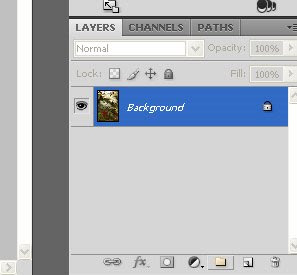
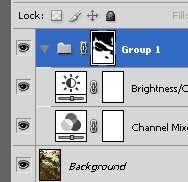
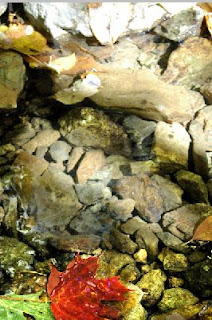
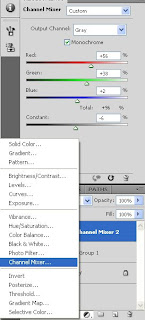
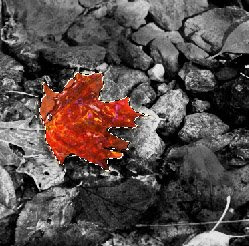
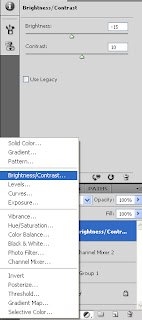
In this tutorial I am using layers in photoshop. It could be done with many tools and even though layers are not strictly required I prefer using layers since they give me the option to go back and manipulate the effect later and adjust the intensity of each layer individually. For those reasons it is always a good idea to save your final result as a photoshop file to preserve the layers even if you "only" intend to use a jpg version online.
After the school photo day I took a couple of portraits of Emma. In this tutorial I will use one of those to illustrate :-)
(this is where I should have a note about always capture the photo correct in camera instead of "fixing" it in photoshop... but I am sure you heard that enough).
The initial photo is here. It is a little under exposed and the contrast isn't as high as I would like it... but those are things for the digital darkroom (photoshop).
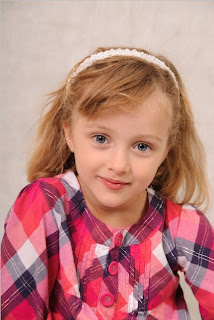
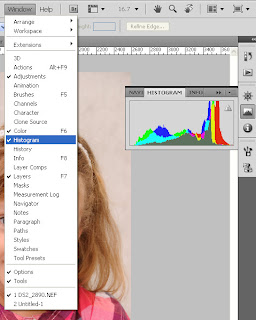
First off I want to adjust the brightness of the overall photo a bit. To be able to determine the amount needed and ensuring it doesn't result in something too bright it's a good idea to check the histogram.
I know the histogram can seem mighty tricky, but in fact it is "just" a view of the range of light that can be shown in the photo and the intensity of light for each shade (this is very simplified... don't shoot me). In short the left side is the dark/black side and the right side is the light/white. You don't want the histogram to fall over either side.
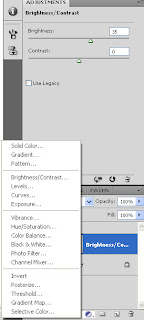
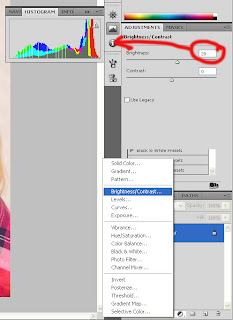
Add a brightness/contrast adjustment layer from the adjustment layer menu and increase the brightness. In this example I ended with a value of 20 that moved the histogram a little more to the right (more light/white) without pushing over the side.
Next add a levels adjustment layer (in the same way as I did in the crystal clear photos tutorial) and line up the black and white arrows with the start and end of the histogram.
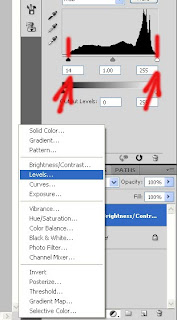
So far so good :-)
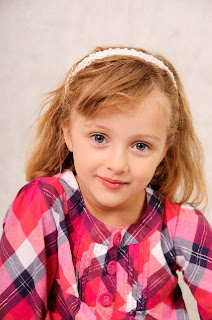
Now this is a portrait and for portraits I want to draw attention to the eyes and let them capture the viewers attention. The next steps are kind of some old tricks but even though it's some of the oldies they still work out pretty good.
Making a selection can be done in many ways. Some more refined than others. Here is one way of doing it that works even though it may not be the most precise method (a wacom tablet is a great help here).
Start by selecting the background layer and pick the Lasso tool from the tool box and do a rough selection of the eyes (hint: for the second eye hold down the shift key while making the selction to add to the selction).
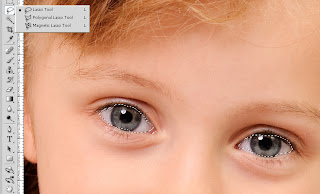
Usually I get a selection that is hmm let's call it slightly uneven... I refine the selection by switching to the quick mask mode (shortcut key: Q or the button on the bottom of the toolbar). This will turn everything that has not been selected red or well any color that has been set for the quick mask overlay color.
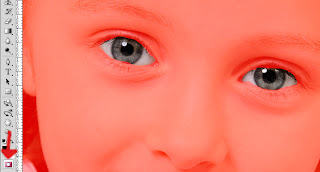
Zoom in (shortcut key: CTRL + +) on the selection and pick a paint brush in a size smaller than the selection. Now color with white to add to the selection (the overlay color disappear) and with black to remove from the selection (add overlay color).

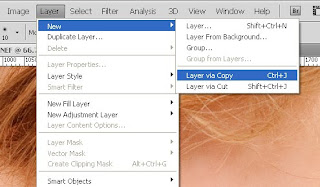
Once done, exit quick mask mode (using the button or shortcut key: Q) and copy the content of the selection to a new layer using "Layer via copy" found in the menu Layer->New or simply use the shortcut keys: CTRL + J.
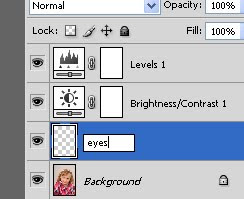
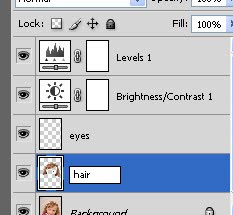
Since this is the eyes we have copied name the layer "eyes" (double click the layer name in the layer window or with "Layer Options" from the layer menu).
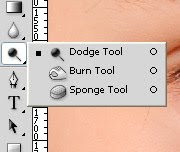
First up is to brighten the iris a little bit. To do this select the dodge tool from the toolbox.
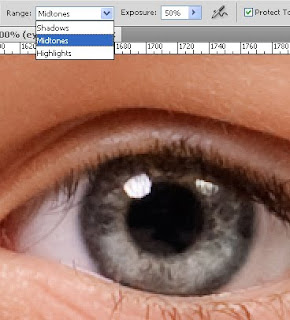
Change the settings to "Midtones" and the opacity to about 50% (this will slowly add the effect). Change the size of the dodge tool to be a little bit smaller than the width of the iris and paint around the center of the eye without hitting the edge of the iris.
Next select the burn tool from the toolbox (it is on the same menu as the dodge tool).
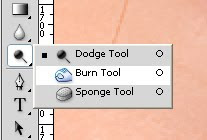
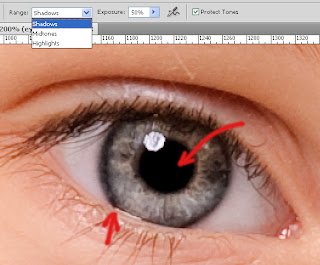
Change the setting for the burn tool to "Shadows" and again an exposure around 50%.
With a small burn tool size burn the edge of the iris and with a bigger tip burn the center of the eye to make it all black (or very close).
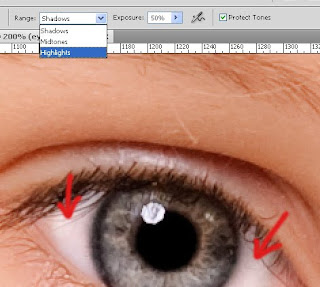
Switch back to the dodge tool and change the setting to "Highlights". With a well sized tip brighten the whites in the eyes.
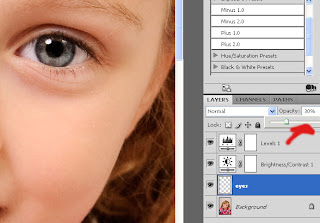
Now is the time where the advantage of layers come handy. This effect may be a little bit too much when zooming out (shortcut keys: CTRL + -) and we can easily fix that by adjusting the opasity of the layer in layer window. Here I reduced the opacity to 30% to make it a subtle effect.
Next step is the hair and a little bit of sharpening. Select the background layer in the layer window (this to ensure content is copied from the background layer) and do a rough selection of the hair. Then switch to the quick mask mode to refine the selection if needed.
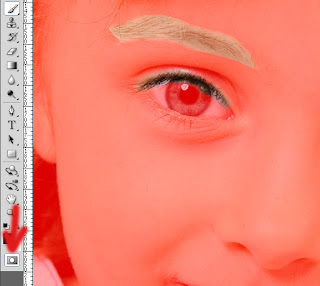
This step will be a subtle effect so if a little bit too much is selected it will under normal circumstances not break the photo or even be visible in the final result.
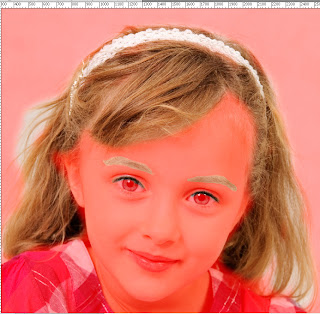
Select the new layer and just for good order let's name the layer "hair".
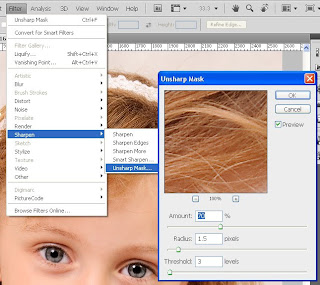
Ensure the hair layer is selected and apply the "Unsharp Mask..." from the Filter->Sharpen menu. For sharpen effect I think it is important to be very carefull and not oversharpen. If a portrait is over sharpened there will be small halos around edges in the photo. One way of getting close to a decent sharpening is to set the amount to the max percentage (now you should see the halos) and decrease the Radius until the halos start to go away. Now lower the amount to somewhere in the range 50%-80%.
In this example the skin is very fine and there isn't much to do. The skin can be tricky and many times over processing the skin in a portrait can make it seem like it is made of plastic (we don't like that... right?).
Select the background layer and make a selection of the skin (like in previous steps).
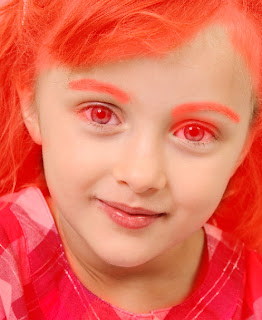
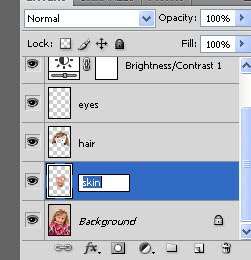
Copy the content to a new layer (CTRL + J) and let's name this one "Skin".
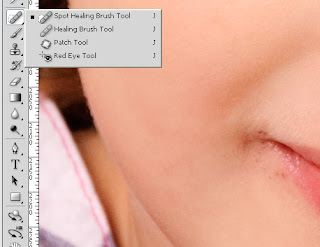
The toolbox have a couple of healing tools. For smaller area I prefer using the "Spot healing brush tool" and the "healing brush tool" or "Patch tool" for medium to large area.
In this example I only have to deal with a little leftover food around the mouth (When zooming in on the photo you will see this with almost any child... trust me... any... even yours if you have some).
Using the "Spot healing brush tool" just paint over the spot you want to fix and it is gone. Sometimes it can go wrong but this is where a quick undo (shortcut keys: CTRL + Z) and retry can do the trick.
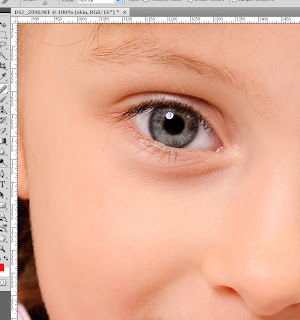
At the eye there is a little loose hair that's easily removed with the healing tool.
Here is the final result with a before and after.
 |  |
I hope you liked the tutorial and please do feel free to drop a comment in case you have any questions or such :-)
