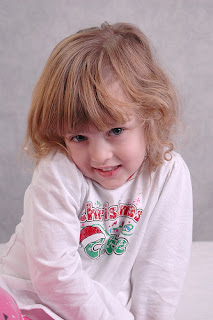
Start with a photo like this one:
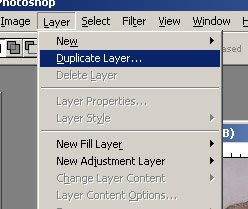
 Create two duplicate layers using either "Duplicate Layer..." from the Layer menu or select your background layer and press CTRL+J twice.
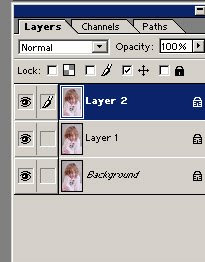
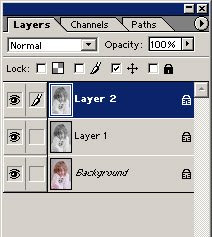
 Your layers palette should now look like this with the background layer and two copies.
 Desaturate both the copies using the "Desaturate" function from the Image->Adjust menu (or SHIFT+CTRL+U).
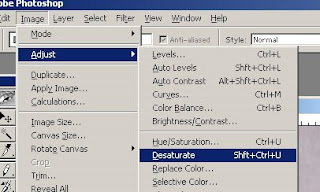 After which your photo goes black&white and your layers palette looks something like this.
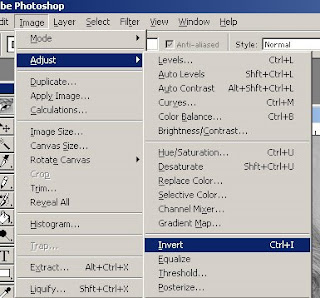
 Select the top layer and invert the content using the "Invert" function from the Image->adjust menu (or CTRL+I).
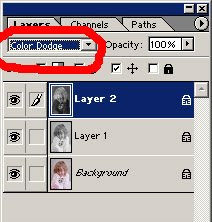
 Select your inverted top layer (or make sure it is selected) in the layers palette and set the blending mode to "Color Dodge". This will make your photo look all white but that's ok. Don't worry it's normal ;-)
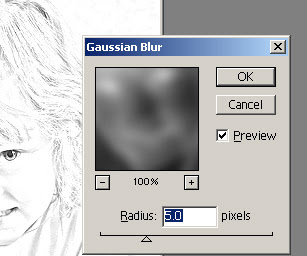
 Again with the top layer selected in the layers palette apply a "Gaussian Blur..." by selecting it from the Filter->Blur menu.
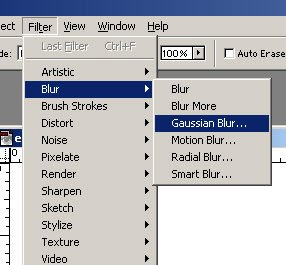 Depending on the size and resolution of your photo select a radius that seems right. The higher radius you select the more detail will show up and the less it will look like a sketch.
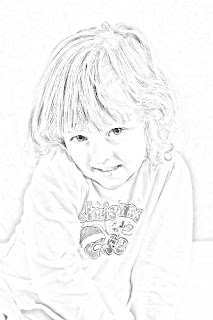
 Here is the final result:
| Original | Sketch |
 |  |
No comments:
Post a Comment